
Troubleshooting Clogged Drip Lines and Emitters
For homeowners along the Wasatch Front, shifting toward water-wise landscaping has become more than just a trend—it is a necessity. With strict secondary water restrictions in Davis County, many residents rely on drip irrigation to keep their xeriscape gardens and drought-tolerant plants thriving without wasting a single drop. Drip systems are fantastic for delivering precise moisture directly to the root zones, which is especially helpful when dealing with our dense, heavy clay soil that is prone to runoff.
However, these highly efficient systems are not completely maintenance-free. Over time, the tiny components that make drip irrigation so effective can succumb to hard water deposits, dirt, and mineral buildup. If you have noticed your plants looking a bit wilted despite your watering schedule, you might be dealing with blockages. Understanding how to fix clogged drip irrigation emitters and identifying broader system issues can save your landscape from drought stress and help you avoid costly plant replacements.
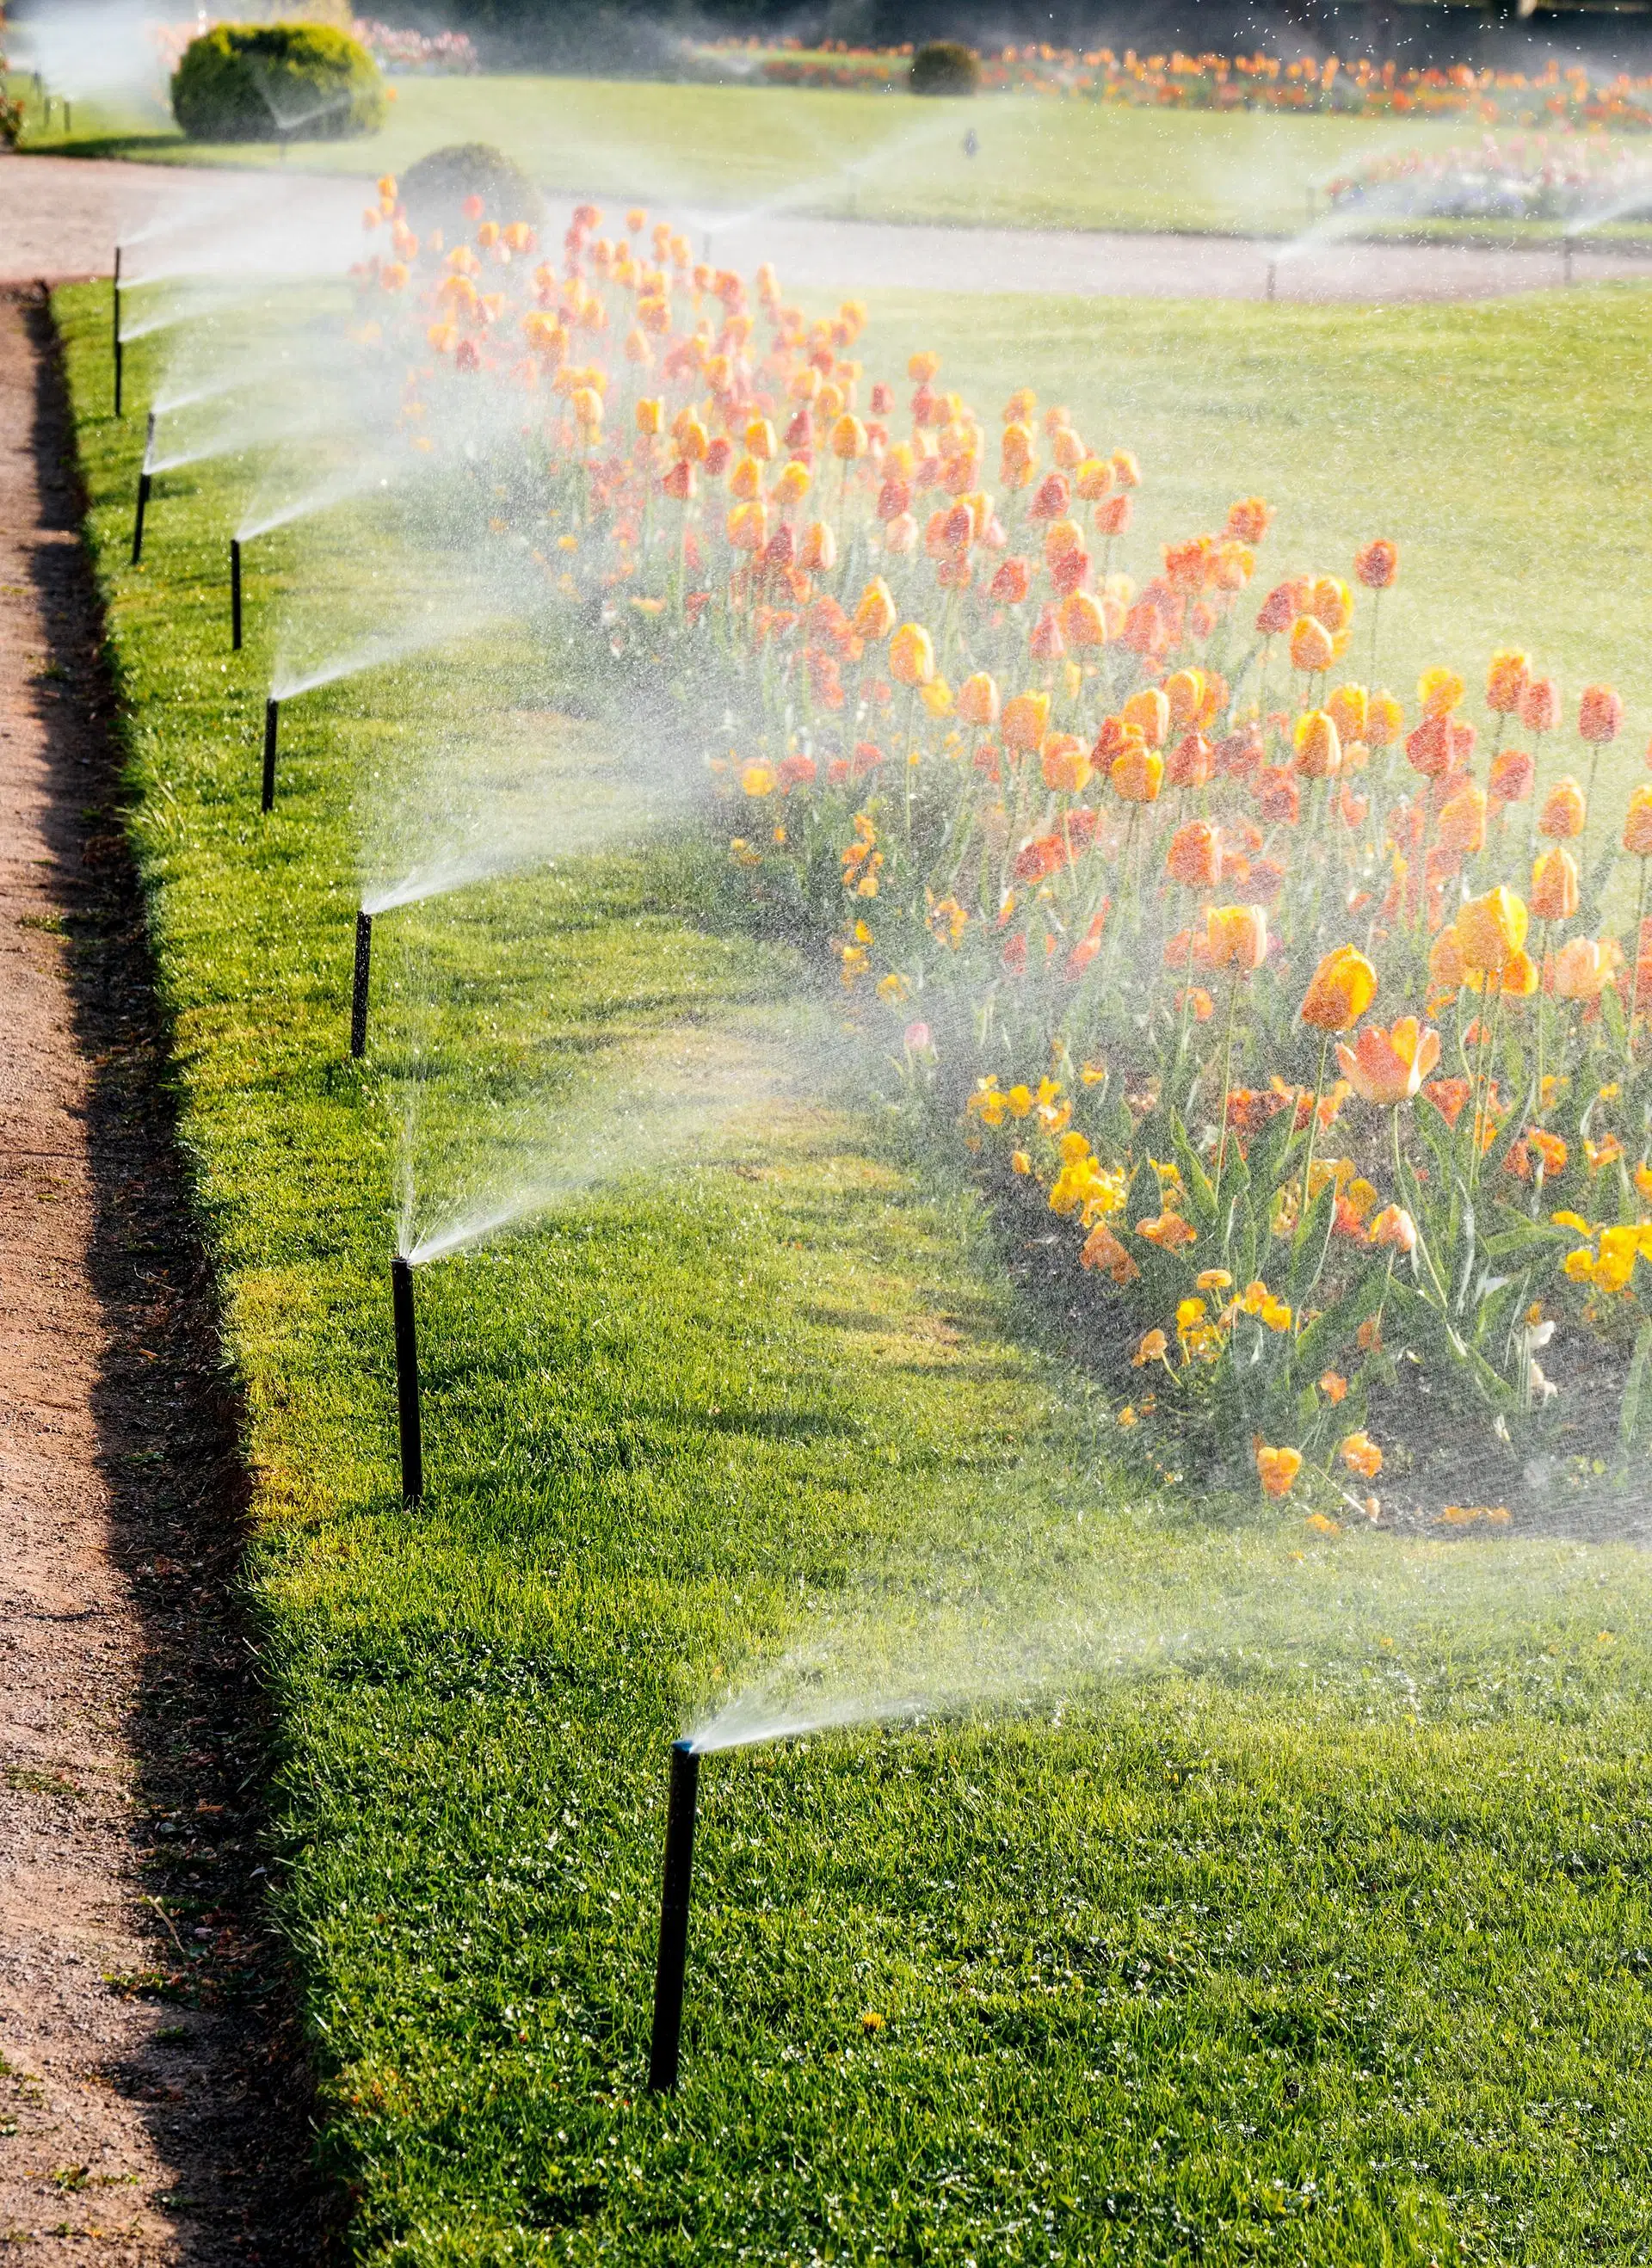
Recognizing the Signs of Trouble
Before you start tearing apart your garden beds, it is important to accurately diagnose the problem. A struggling plant is usually your first clue, but the root cause could be anything from a simple clog to a severed line.
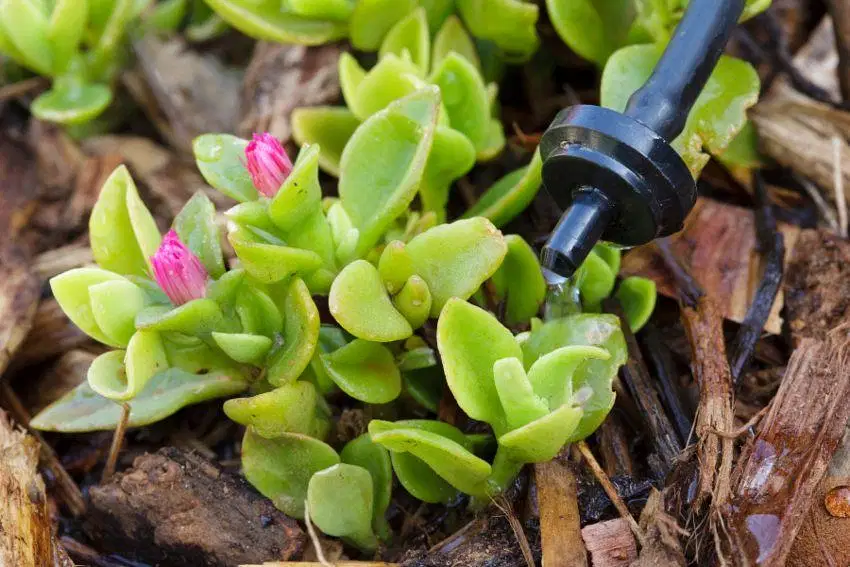
One of the most obvious signs of broken drip irrigation lines is a localized puddle or sudden erosion in your mulch or gravel. If a line gets nicked by a shovel or chewed by a pest, water will gush out of the break rather than reaching the emitters further down the line. Conversely, if you are troubleshooting low flow in garden drip tubing but do not see any puddles, the issue is likely a clog. You can confirm this by turning on your system and closely inspecting the emitters. Instead of a steady, slow drip, a clogged emitter will either produce a weak, erratic sputter or no water at all.
Our local secondary water sources can be particularly hard on irrigation components. Silt, algae, and high mineral content frequently bypass basic filters, slowly crusting over the tiny orifices of your drip heads. Recognizing these symptoms early allows you to intervene before your carefully planned garden suffers irreversible damage.
Step-by-Step Guide to Clearing Clogs
If you have pinpointed a stubborn emitter, restoring the flow is usually a straightforward process. Here is a simple approach to get things running smoothly again:
First, gently remove the affected emitter from the tubing. Be careful not to stretch or tear the main line. Once removed, inspect the small opening. If the blockage is just a bit of dirt, you can often clear it by tapping it against a hard surface or blowing through it. For more stubborn mineral deposits caused by our local water supply, you will need a stronger solution.
Soaking the clogged components in a small cup of white vinegar for about 30 minutes can work wonders. The mild acid breaks down calcium and hard water scales without damaging the plastic. After soaking, rinse the emitter thoroughly with clean water. Before reattaching it, turn on your irrigation zone for just a few seconds to flush out any debris that might be sitting inside the main tubing. Once the line is flushed, snap the clean emitter back into place and test the system.
Sometimes, the problem isn't at the emitter level. If you are noticing low pressure across the entire zone, you need to check the main filter and pressure regulator located at the valve box. A completely clogged mesh filter will choke the water supply to the whole yard. Unscrew the filter housing, remove the mesh screen, and scrub it gently with an old toothbrush under running water.
When to Call in the Professionals
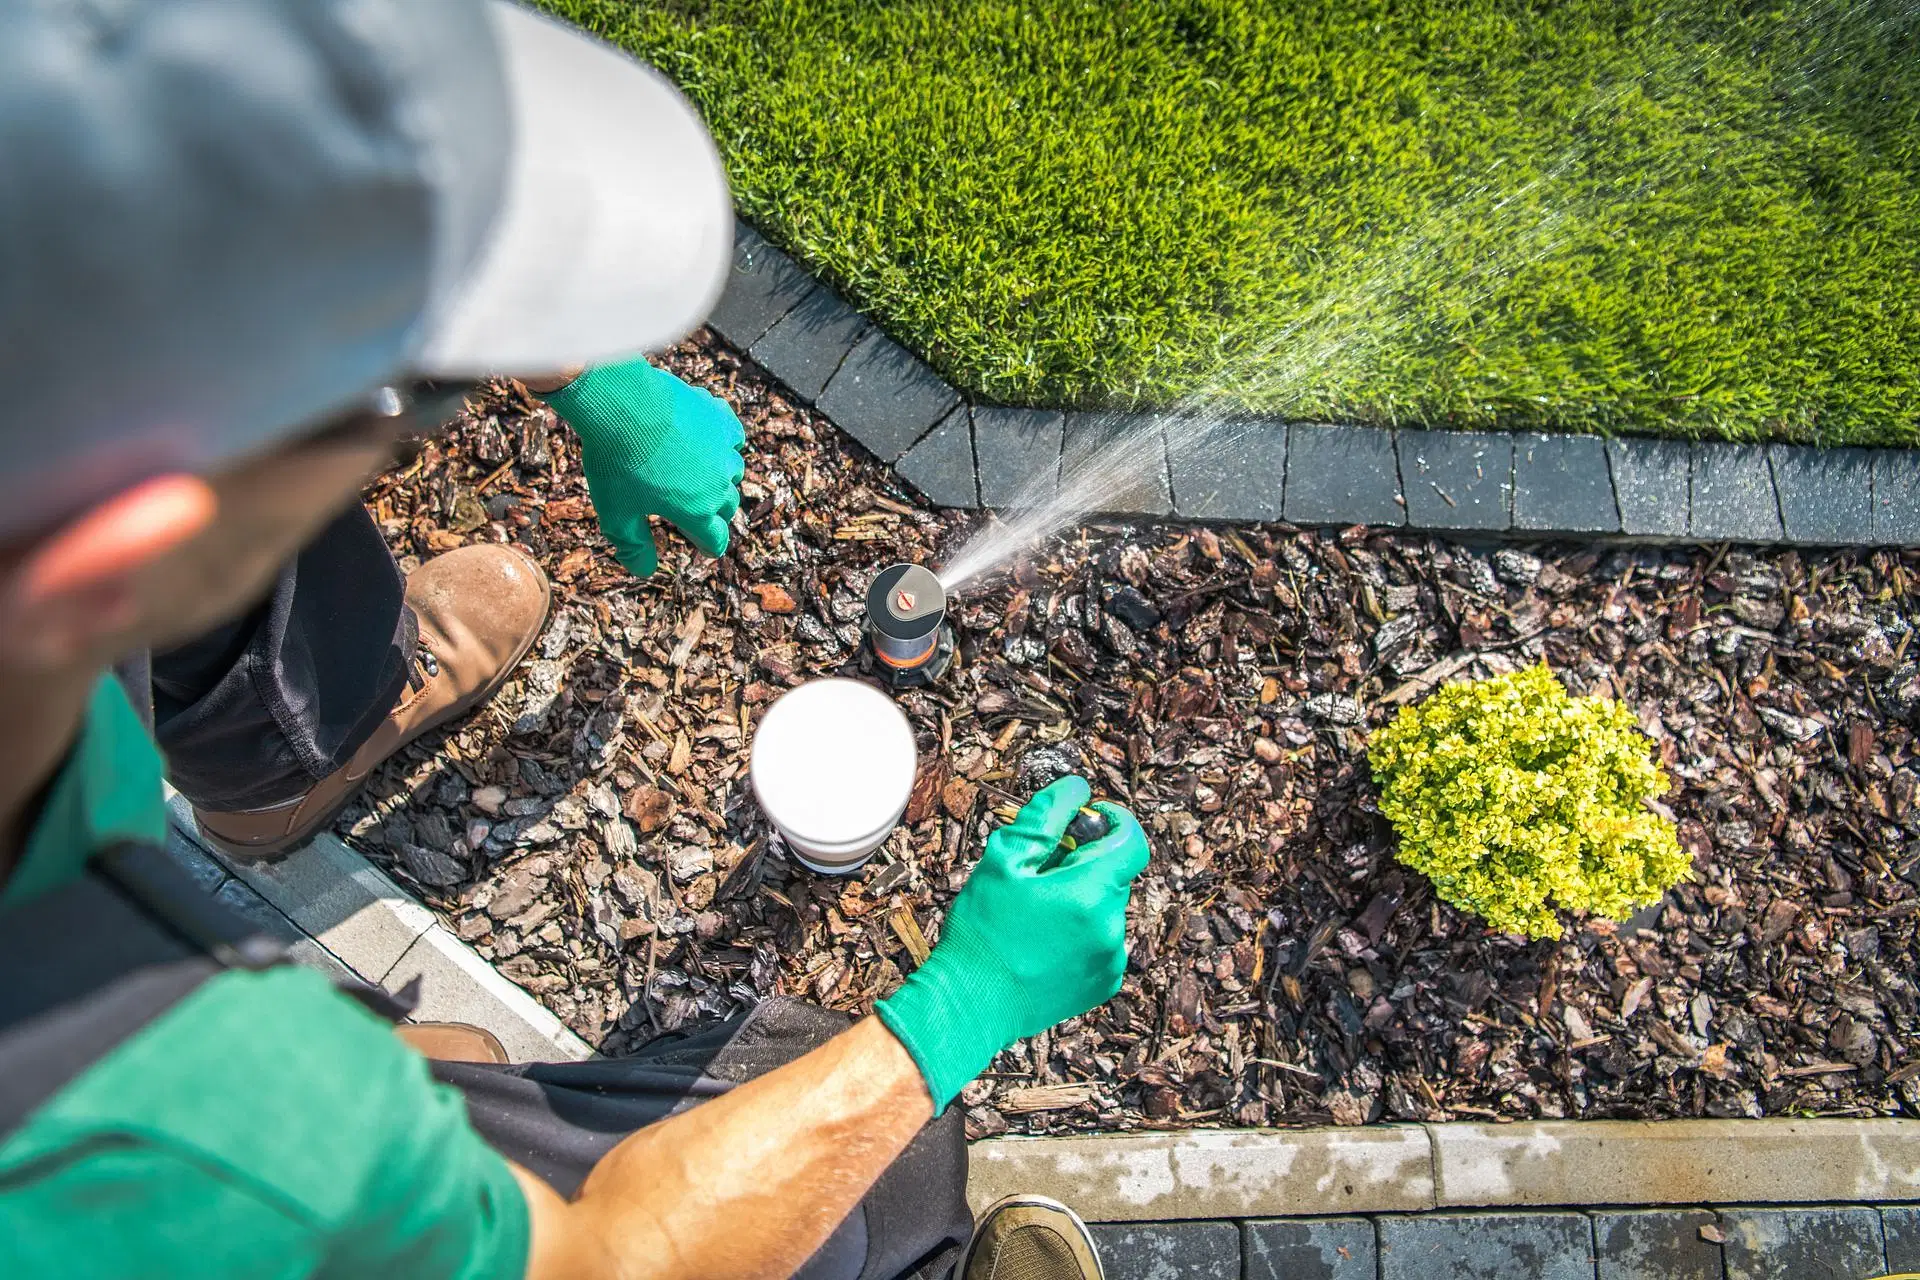
While clearing a few emitters is a great weekend project, persistent issues often point to deeper systemic problems. If you find yourself constantly battling clogs, your system might lack the proper filtration required for the water in our area, or your tubing might be degrading from the inside out due to age and sun exposure.
Upgrading your filtration system or replacing outdated lines can save you countless hours of frustration. If your landscape has matured or if you have recently converted part of your lawn to a water-wise design, your original irrigation layout might no longer serve your yard's needs efficiently. A comprehensive sprinkler system revamp can ensure that every plant gets exactly the right amount of water, completely eliminating dry spots and wasteful runoff.
At Oberg Irrigation, we understand the unique climate challenges of the East Bench and surrounding communities. Whether you need help diagnosing a tricky pressure issue or are looking for a complete drip irrigation system installation & repair, our team is here to help you maximize your water efficiency and keep your outdoor spaces beautiful year-round. Reach out to us today to schedule a consultation and take the hassle out of your landscape maintenance.